Senior Dog Arthritis Home Comfort Checklist: Evidence-Based Setup
A veterinary-informed senior dog arthritis checklist for floors, beds, ramps, bowls, movement, pain tracking, and when to call your vet.
Senior Dog Arthritis Home Comfort Checklist: Evidence-Based Setup
This guide is designed as a practical field checklist rather than a generic overview. Use it to make one careful pass through the problem, decide what matters first, and avoid buying tools before the workflow is clear.
The clinical goal: reduce pain triggers, not personality
Arthritis care at home is not about turning a senior dog into a puppy again. The practical goal is to remove the small daily stressors that repeatedly flare sore joints: slipping at the doorway, jumping from the sofa, bracing while eating, twisting on a slick floor, or overdoing a good day and paying for it tomorrow. Veterinary pain guidelines emphasize multimodal care because osteoarthritis is mechanical, inflammatory, behavioral, and environmental at the same time. Medication can lower pain, but the home decides how often the painful movements happen.
Step 1 — map the five routes your dog actually uses
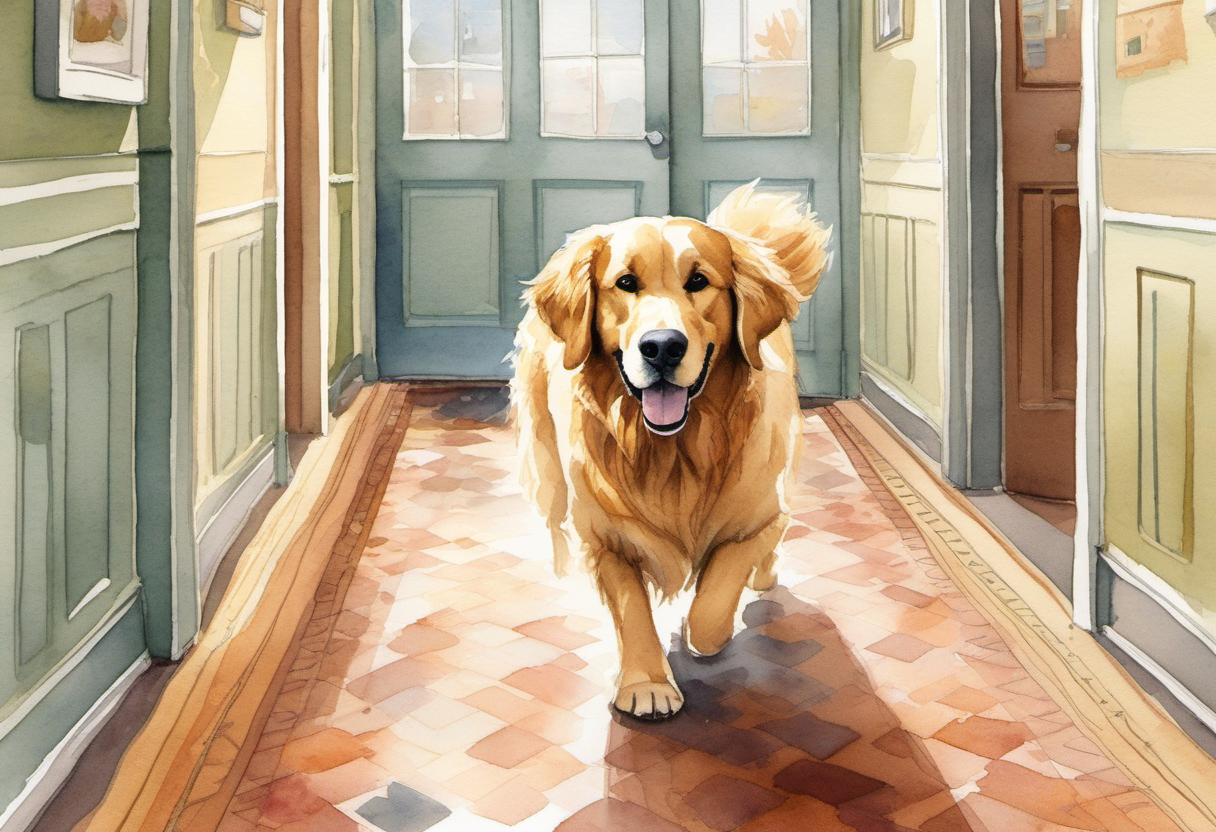
Walk through the home at your dog’s eye level and list the routes used every day: bed to door, door to yard, bed to water, sofa to family area, and car to entry. Add traction only where it changes movement, not where it merely looks tidy. Long runners are better than isolated mats because paws need continuous grip through turns. Corners matter; many arthritic dogs slip when they pivot, not when they walk straight. If your dog hesitates before a hallway or accelerates across wood flooring, that is usually a traction problem rather than stubbornness.
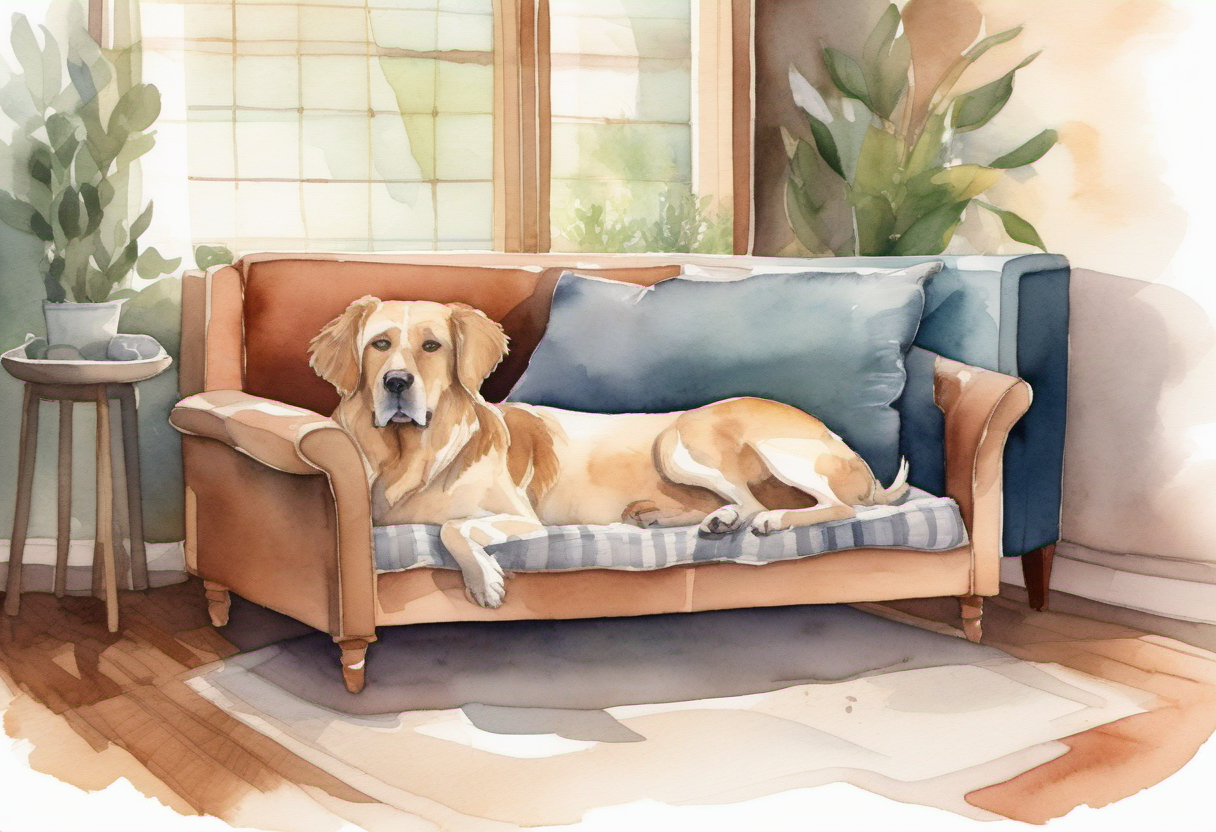
Step 2 — make rest therapeutic
An orthopedic bed should be easy to enter, large enough for side sleeping, and placed where the dog can stay with the household without being stepped over. Very tall bolsters may look cozy but can force hip abduction when a stiff dog climbs in. Put one supportive bed on each floor so the dog is not choosing between pain and companionship. Washable covers matter because damp bedding, urine leakage, and skin infections become more common with age. The best bed is the one your dog uses for long, relaxed sleep.
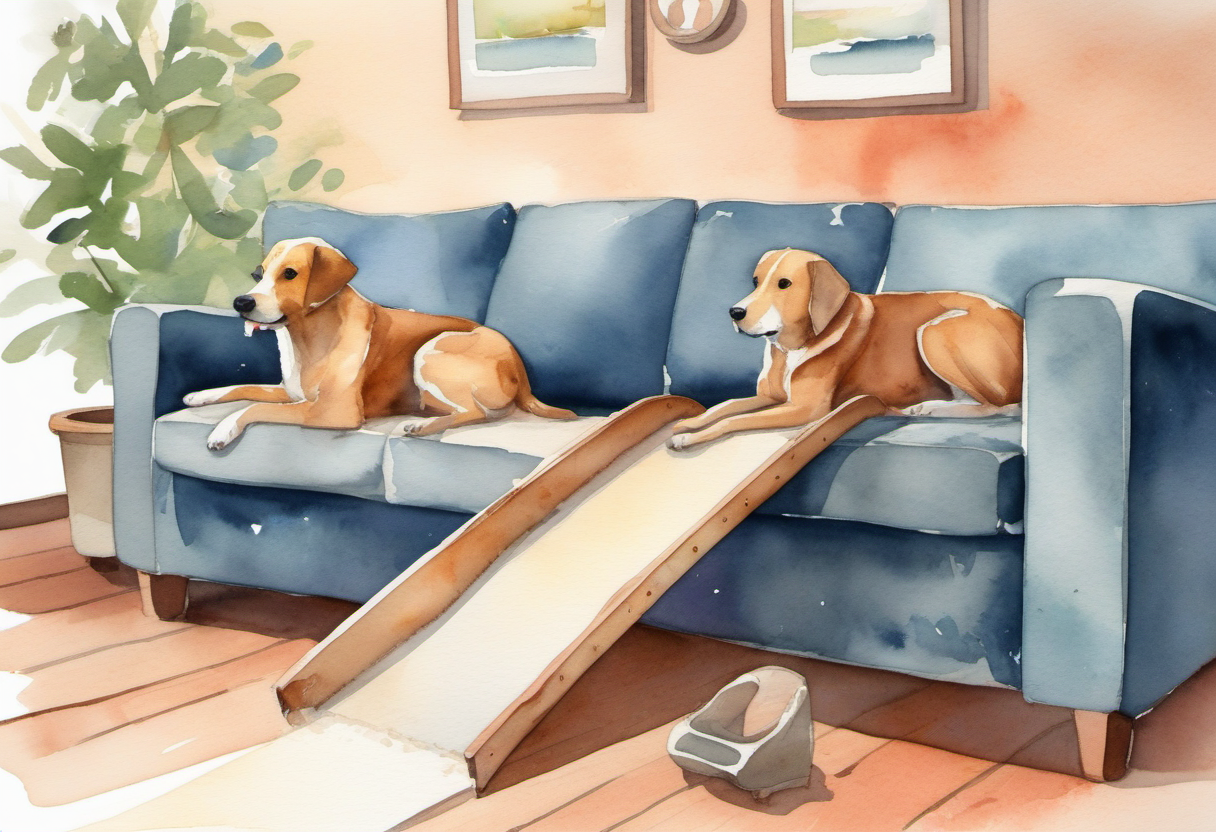
Step 3 — replace jumping with rehearsed alternatives
Jumping down from beds, cars, or sofas creates a sudden load through wrists, elbows, shoulders, spine, hips, and stifles. Install ramps or low platforms before the dog is desperate, then train them with treats while the dog is calm. The ramp needs side rails or visual edges, a grippy surface, and a low angle. If the ramp is for a vehicle, practice when you are not leaving for an appointment. Dogs learn poorly when the car already predicts excitement or stress.

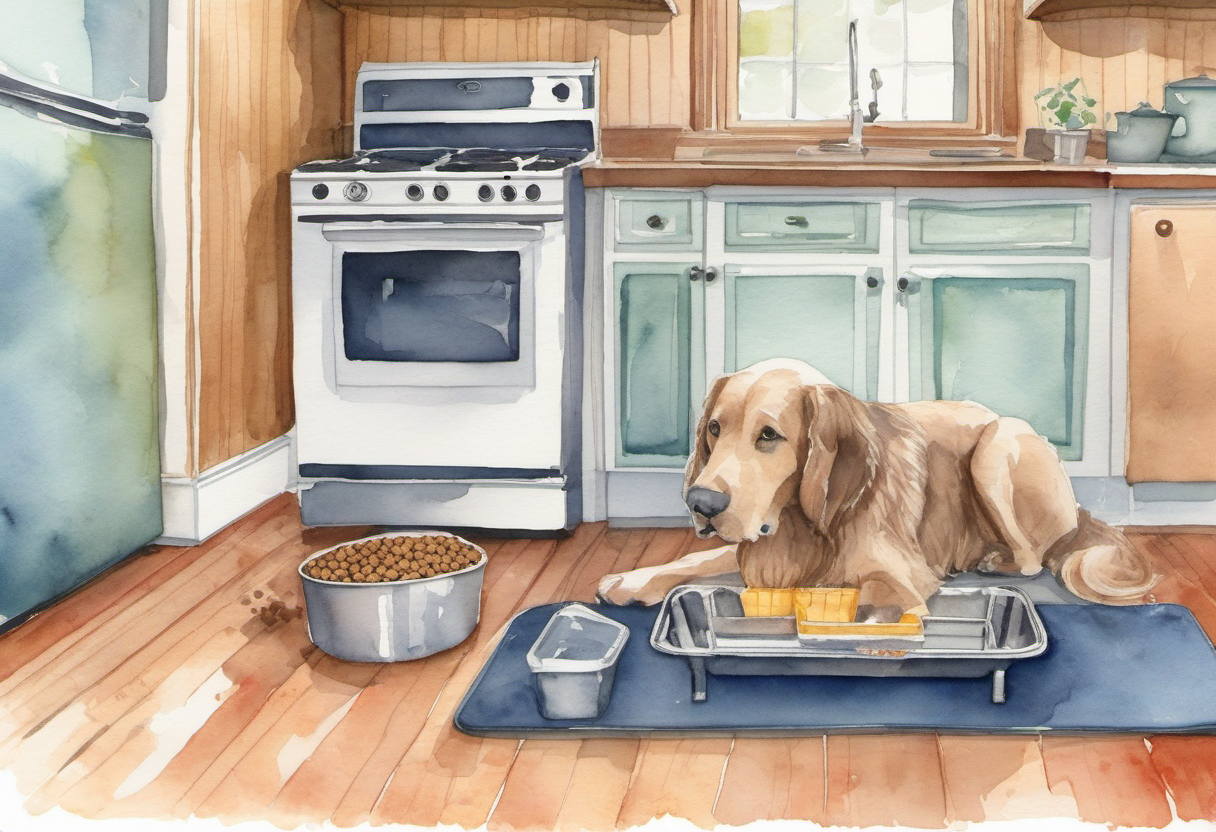
Step 4 — adjust food and water stations
Raised bowls are not automatically better for every dog, but stable bowls at a comfortable height can reduce awkward bracing for dogs with neck, shoulder, or elbow pain. The bigger issue is footing. Put bowls on a non-slip mat and keep water close to the primary resting area. If a dog drinks less because the bowl is down a slippery hallway, constipation and urinary issues can follow. Watch the front feet during meals; if they slide outward, fix the floor before buying a new bowl.
Step 5 — use a pain and function diary
Owners often under-notice slow pain because the decline happens over months. Track five daily signals: time to rise after sleep, willingness to use stairs, length of first walk, appetite, and evening restlessness. Record good days as well as bad days, because the pattern after activity tells your veterinarian more than a single dramatic limp. Bring videos of stair use or rising from bed. A thirty-second clip can be more useful than a paragraph of memory.
Step 6 — design exercise like physical therapy
Total rest weakens muscle and can make joints less stable. The safer pattern is shorter, predictable movement on grippy surfaces. Replace one long weekend walk with several shorter walks. Avoid ball chasing on slick floors, sudden turns, and repetitive stair sprints. Warm up with slow walking before sniffing games or hill work. If your veterinarian refers rehabilitation, underwater treadmill, range-of-motion work, and strengthening exercises can be targeted to the painful joints rather than guessed at home.
When to call the veterinarian promptly
Call promptly if your dog cannot rise, cries when touched, suddenly refuses food, drags a limb, collapses, has a swollen joint, or becomes dramatically weaker after medication. Never give human pain relievers unless your veterinarian instructs you; several common human drugs are dangerous for dogs. The home checklist is powerful, but it is not a substitute for diagnosis, weight planning, prescription pain control, or screening for other diseases that mimic arthritis.
Build the room around predictable movement
A senior dog with arthritis should not need to make athletic decisions to participate in ordinary family life. Put the most comfortable bed where the dog can see people, not in a distant corner. Keep the route to the door wide enough for a slow turn. Move baskets, shoes, and low stools away from corners because a painful dog often swings the rear legs wider than before. If your dog uses pee pads overnight, place them on a grippy base so the pad does not slide under the paws. Small environmental changes work because they remove repeated joint stress before it becomes a crisis.
Weight, nails, and traction work together
Three practical factors multiply each other: body weight, nail length, and floor grip. Extra weight increases the load on painful joints. Long nails change paw placement and reduce traction. Slick floors make the dog tense the whole body to avoid falling. Owners sometimes buy ramps and supplements while missing these basics. Ask your veterinary team for a body condition score, schedule nail trims before nails force the toes upward, and test every high-traffic path for slipping. If the dog walks better outdoors than indoors, the floor is giving you a clue.
Make car travel boring and safe
Many flare-ups start with a jump from a vehicle after an exciting outing. Use a ramp, step, or lift harness before the dog is exhausted. Keep the landing area clear and dry. For medium and large dogs, practice slow exits with food rewards so the dog does not launch out when the door opens. For small dogs, lift with support under the chest and hindquarters rather than pulling from the front legs. The goal is not speed. The goal is a predictable transfer that does not surprise painful joints.
Coordinate the home plan with medical care
Home changes help your veterinarian see what pain remains after mechanical triggers are reduced. If traction, ramps, and rest areas improve function but your dog still wakes at night, avoids stairs, or stops enjoying walks, the medication and rehabilitation plan may need adjustment. Bring your diary, videos, and a list of changes already made. That turns the appointment from “my dog seems old” into a useful clinical conversation about pain, function, and quality of life.
Common mistakes to avoid
The first mistake is buying a product before identifying the repeated friction point. A tool is useful only when it changes a daily behavior. The second mistake is solving the visible symptom while leaving the cause intact. If the same problem returns every week, the system is asking for a clearer place, rule, or review habit. The third mistake is making the setup too complex. A simple checklist that people follow will outperform an elegant arrangement that requires perfect memory.
How to test the setup for one week
Use a seven-day test before treating the plan as finished. On day one, make the smallest changes that remove the biggest obstacle. On days two through six, observe when the system fails: rushed mornings, late evenings, visitors, bad weather, fatigue, or competing priorities. On day seven, keep what worked, remove what nobody used, and make one additional improvement. This test prevents overdesign and gives the household time to adapt.
What expert implementation looks like
Expert implementation is usually calm and measurable. It names the problem, changes the environment, watches the result, and adjusts. It does not rely on motivation alone. It also respects constraints: budget, rental rules, health needs, shared spaces, and the amount of attention people can realistically give the routine. If the solution makes the desired behavior easier on an ordinary tired day, it is probably the right direction.
Maintenance rhythm
Set a monthly review date so the setup keeps working after the initial enthusiasm fades. Remove items that are no longer useful, repair anything that has become annoying, and check whether the original problem has changed. Most systems fail slowly: one extra object, one ignored note, one workaround that becomes normal. A short monthly reset keeps the solution light and prevents the space or workflow from drifting back to the old pattern.
Budget-first upgrade path
If money is limited, rank upgrades by frequency of use. Anything touched daily deserves more attention than something used once a month. Start with free placement changes, then low-cost accessories, then durable equipment only after the behavior is proven. This order protects quality because it avoids buying around a bad process. The most professional solution is not always the most expensive one; it is the one that reliably removes the constraint.
Final checklist
- Start with the highest-friction daily route, not the prettiest purchase.
- Fix the environment before blaming motivation or discipline.
- Use a small written baseline so improvements are visible.
- Prefer reversible, low-cost changes until the pattern is proven.
- Review the setup after one full week, because the first day rarely exposes every issue.